
These were some of the necklaces I was also inspired by online:


Supplies:
- Your choice of beads, I used two different kinds from Michaels and ended up getting four strands of blue beads, each strand was seven inches. The other strand was used for little accent beads so I only needed one strand for that. Feel free to mix up different kinds of beads or stones, it's your necklace, so make it just the way you want it!
- Bead elastic or fishing line *NOTE: I used stretchy bead elastic at first, but my beads appeared to be too heavy and weighed it down. If you want to use smaller beads stretchy elastic is fine, but if yours are a little larger or heavier I would recommend something that doesn't stretch and isn't elastic, such as thin fishing line.
- Strong glue or super glue
- Scissors
- *OPTIONAL: If you decide you want to make your own tassel the way I did, you can use cotton embroidery thread. However if you have already have a tassel you want to use, that is fine too!
I actually got all my supplies from Michaels, but you can get any of them from your local craft store.
- Also if you are making a tassel you will need a piece of cardboard the size you want your tassel to be. It has to be strong enough to wrap thread around without folding.

First I'll show you how to make the tassel. Obviously if you already have a tassel you want to use, you can skip this part and move on to making the actual necklace. So first what you need is the embroidery thread *I have both colors pictured here but you only need one. You also need cardboard, scissors, and glue.

To make the tassel, start wrapping your embroidery thread around the cardboard.

Continue wrapping thread around the cardboard until it is as thick as you want your tassel to be. Remember you're going to remove the cardboard, and the tassel will be the thickness of both sides combined.

Now remove the cardboard like I mentioned before. Make sure to keep it in the shape of a loop as seen in the next two pictures below.


Now cut another piece of thread. I decided to fold it in half so it was a little thicker. Put the thread through the loop you've previously made as seen below.

Now take the two ends of the thread and tie a double knot above the loop. Then secure with glue. Don't cut the ends just yet, leave them for now.
Now take one more piece of thread and tie a knot around the thread about half an inch from the top.

Then, continue wrapping the piece around the thread and tie it off in the back. This is shown in the two pictures below.


Now cut the remaining ends off and secure with glue, you're almost done with the tassel!

Lastly take your scissors and put them through the bottom of the loop.This may be hard, but cut through the bottom of the loop, making your tassel!

You're now done with the tassel and you can get started on the necklace!

To start making your necklace, take either your bead elastic or thin fishing line and measure out how long you want it. Leave a little bit on the end so you'll be able to tie it. Then, take the thread that is still on the tassel and tie it around the string to attach your tassel. Trim the ends and secure with glue.

Now that the tassel is on your string, grab your beads!

I like to separate my beads into bowls when I have different types, so that is what I've done below.

I wanted use a few accent beads, so I took one bead and put both sides of the string through it. If you can sort of see what I've done below, instead of putting the bead on one string I've put it on both.

Here it is again a bit more zoomed out.

Now all you have to do is start stringing your beads!

Continue stringing your beads on in any pattern you like! I've decided to do 7 blue beads, then one brown bead to break up the blue beads.

Make sure you have the right amount of beads you would like and that it is just how you want before you tie it off.
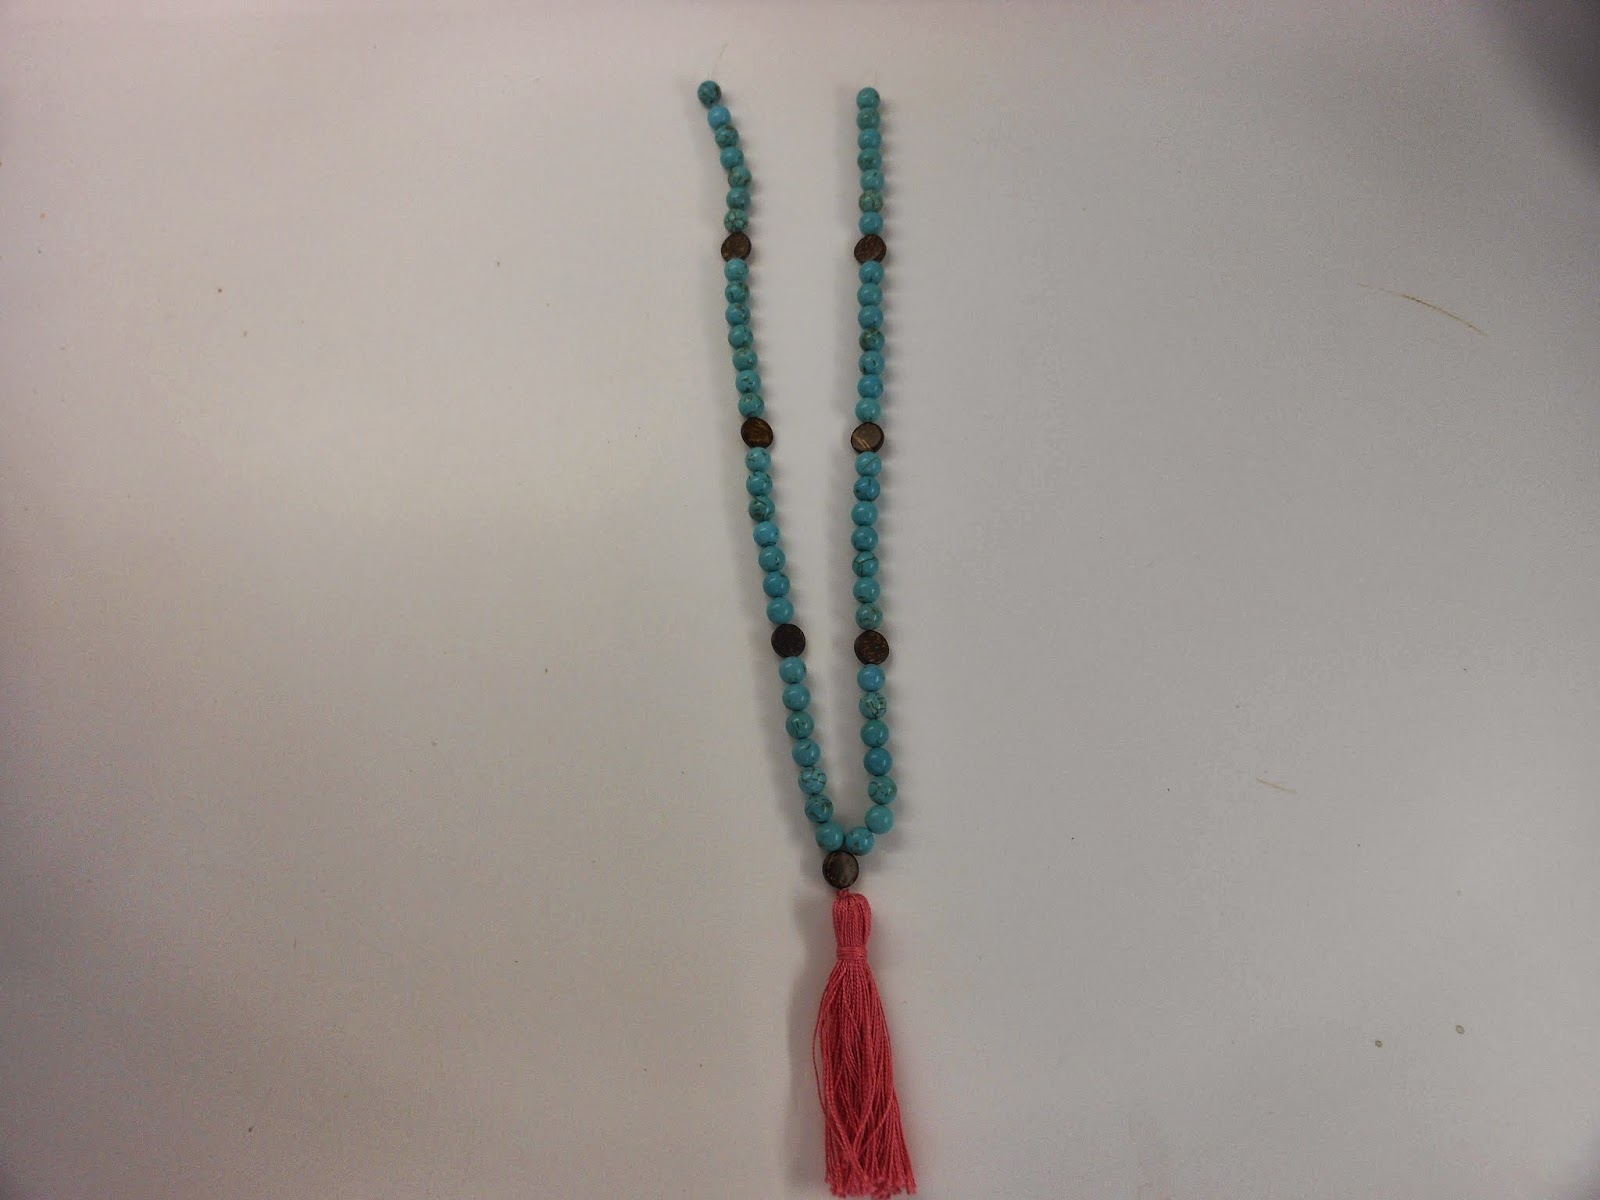
Now tie the two ends together and secure with glue! You're done!

You've now made your very own tassel necklace! This can be worn as a fun statement necklace, or if done with smaller beads, an accent piece. I hope you all enjoyed this post and let us know if you make your own!
Kate & Sarah
No comments:
Post a Comment